DIY Wall Decor: Beginner Guide
Transform your living space with this beginner's guide to DIY wall decor, covering essential tools, accessible project ideas, and practical execution tips for.

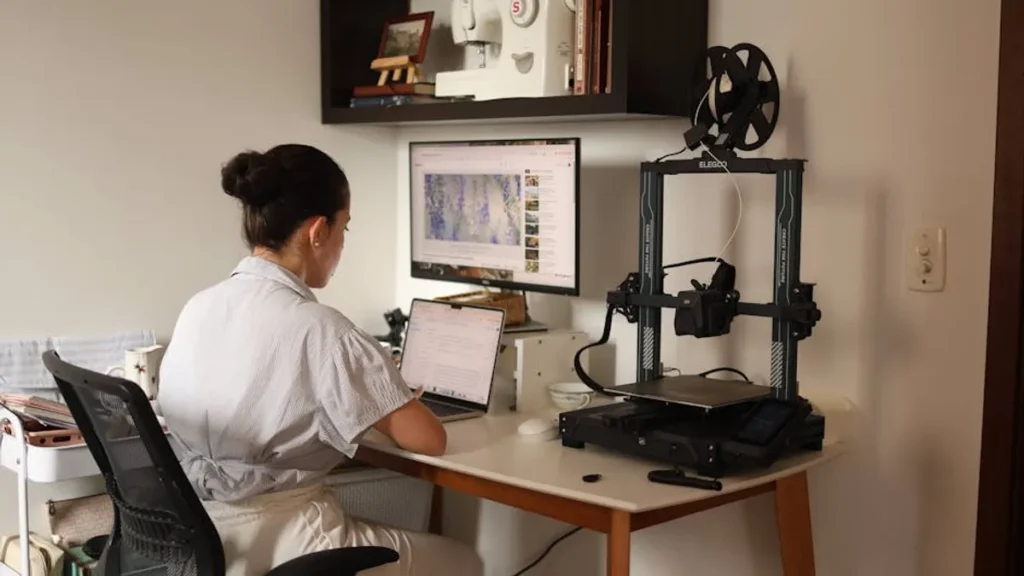
Transform your living space with this beginner's guide to DIY wall decor, covering essential tools, accessible project ideas, and practical execution tips for.
Embarking on DIY wall decor projects offers a direct route to customizing your living space without significant financial outlay. For beginners, the prospect can seem daunting, often leading to analysis paralysis over design choices, material selection, or execution techniques. This guide demystifies the process, providing a structured approach to transforming bare walls into personalized statements, focusing on accessible methods and cost-effective solutions that deliver tangible aesthetic and functional improvements. If you're looking for ways to give old items new life, consider exploring upcycling projects for beginners to add unique touches to your decor.
Before any purchase or brushstroke, analyze the room's function and existing elements. A bedroom requires a different aesthetic and mood than a living room or home office. Consider the natural light, furniture arrangement, and overall color scheme already present. Your wall decor should complement, not compete with, these foundational aspects.
Identify your preferred design style. Are you drawn to minimalist lines, rustic textures, vibrant bohemian patterns, or classic elegance? Collect visual references from magazines, online galleries, or even local shops. This clarity ensures your projects align with a cohesive vision, preventing a patchwork of disconnected ideas. For instance, a farmhouse aesthetic might lean into reclaimed wood and distressed finishes, while a modern look favors geometric shapes and metallic accents.
The walls are a significant canvas. Choose colors that either blend seamlessly with your room's existing palette for a harmonious effect or provide a deliberate contrast for a focal point. Textures, whether through woven hangings, three-dimensional art, or even specialty paints, add depth and interest. A monochromatic scheme can be elevated with varied textures, preventing a flat appearance. Consider how different textures absorb or reflect light, impacting the room's perceived size and brightness.
The size of your decor pieces must be proportionate to the wall and the room. A small piece on a large wall can appear lost, while an oversized piece in a cramped space can feel overwhelming. Map out your arrangement with painter's tape or paper templates before committing. This allows for adjustments to height, spacing, and grouping, ensuring visual balance and flow. For example, a gallery wall often benefits from a central anchor piece, with smaller items radiating outwards.
Successful DIY wall decor relies on having the right supplies. Investing in quality basic tools saves time and frustration, while understanding material properties ensures durability and a professional finish.
Select hardware appropriate for the weight of your decor and the wall material. Command strips are ideal for lightweight items on smooth surfaces, offering damage-free removal. Picture hanging hooks with nails are suitable for moderate weights in drywall. For heavier items or plaster walls, use wall anchors or toggle bolts to ensure a secure hold. Always check the weight rating of your chosen hardware against the actual weight of your finished piece.
Always prioritize safety. Ensure proper ventilation when using paints, sprays, or strong adhesives. Use a stable step stool or ladder for working at height. If drilling, identify stud locations to avoid electrical wiring or plumbing. Reading product instructions for tools and materials will prevent misuse and potential hazards.
These projects require minimal specialized skills but offer significant visual impact, making them ideal starting points for new DIY enthusiasts.
Create a curated display of framed photos, prints, or small artworks. Source inexpensive frames from thrift stores, discount retailers, or by repurposing old ones with a fresh coat of paint. Print personal photos or download free printable art online. The key is a cohesive theme or color palette, even with varied frame styles, to maintain visual unity. Arrange frames on the floor first to finalize your layout before hanging.
Transform a plain wall with a repeating pattern using stencils and paint. Choose a stencil design that complements your room's aesthetic – geometric, floral, or abstract. Use low-tack painter's tape to secure the stencil and apply paint with a stencil brush or roller, using minimal paint to prevent bleeding under the edges. This technique offers a custom wallpaper look at a fraction of the cost and effort.
Fabric scraps, yarn, or macrame cord can be transformed into unique wall art. Weave colorful strips of fabric onto a dowel rod for a textured tapestry, or learn basic macrame knots to create intricate hangings. These projects add softness, warmth, and acoustic dampening to a room. They are forgiving for beginners, as slight imperfections often add to their handmade charm.
Repurpose everyday objects into decorative elements. An old window frame can become a rustic mirror or a display for small plants. Vintage trays can be painted and hung as decorative plates. Old records can be heat-molded into unique wall sculptures. This approach is highly cost-effective and introduces unique character that store-bought items often lack.
Careful execution ensures your DIY wall decor projects look polished and professional.
Clean your walls thoroughly to remove dust and grime, ensuring paint and adhesives adhere properly. If painting, tape off trim and cover furniture. Gather all tools and materials before starting to maintain workflow and prevent interruptions. Read through all instructions for paints, glues, or kits to anticipate steps and drying times.
Follow a systematic approach. For painting, apply thin, even coats to avoid drips and ensure consistent coverage. For hanging multiple items, mark your placement points precisely with a pencil and level before drilling or nailing. Work slowly and deliberately, especially on intricate designs like stenciling, to achieve clean lines and accurate positioning. Patience during application directly translates to a higher quality finish.
Once your primary work is complete, step back and evaluate. Remove any painter's tape while the paint is still slightly wet to prevent peeling. Clean up any accidental marks or smudges. Ensure all frames are level and securely mounted. Sometimes, the addition of a small accent light or a nearby plant can enhance the overall presentation of your newly decorated wall.
Pro Tip: Always test adhesives or paint in an inconspicuous area first. This prevents irreversible damage to your wall surface or an unexpected color mismatch that requires extensive rework. Patch testing on a scrap piece of drywall or a hidden corner ensures compatibility and desired outcome.
DIY wall decor offers more than just aesthetic upgrades; it provides a sense of accomplishment and a truly personalized living environment. By understanding foundational design principles, selecting appropriate materials, and executing projects with careful attention to detail, beginners can transform their spaces effectively. The iterative process of planning, creating, and refining builds confidence and fosters a deeper connection with your home's unique character. Start with small projects to build your skill set, then gradually tackle more ambitious designs as your comfort and vision expand.
Gallery walls using free printable art and repurposed frames, or stenciled accent walls with a single paint color, typically offer the most significant visual impact for the lowest financial investment.
Consider the existing color palette of your room. Choose colors that either complement (e.g., analogous colors like blue and green) or provide a deliberate contrast (e.g., complementary colors like blue and orange) to create visual interest. Test swatches before committing.
Many mistakes are fixable. For paint, quick cleanup with a damp cloth can remove drips. For hanging, small nail holes can be patched and painted over. The key is to address errors promptly and to work slowly to minimize them.
Project duration varies widely. Simple tasks like hanging a few framed prints might take an hour, while a stenciled accent wall could require a full day or two, accounting for prep, multiple paint coats, and drying times. Break larger projects into manageable stages.
If you tackled this, send me a photo. Seriously.
Tag me @diy.queen or email [email protected]