How to Distress Painted Furniture for a Farmhouse Finish
Distressing painted furniture the way it would actually age — edges, corners, and hardware zones. No obvious sanding lines, no fake-looking mistakes.

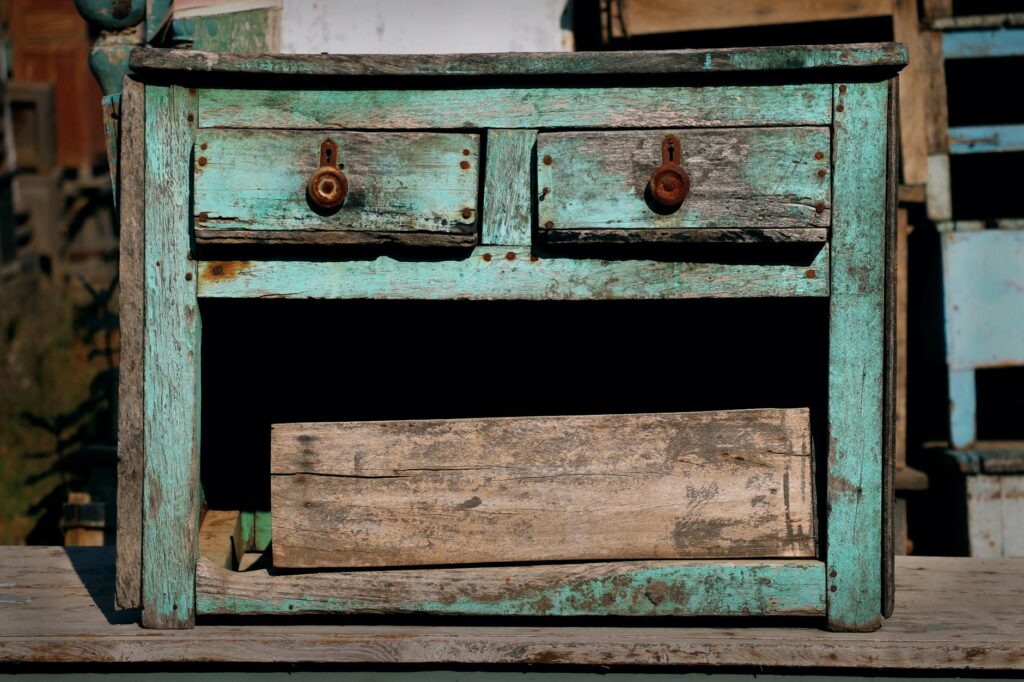
Distressing painted furniture the way it would actually age — edges, corners, and hardware zones. No obvious sanding lines, no fake-looking mistakes.
The first time I tried to distress a dresser, I sanded the middle of the drawer fronts. Just straight rectangles in the center, like someone had rubbed a potato on them. It looked deranged. A real piece of furniture wouldn't wear there — it would wear where hands touched it, where it got bumped, where rain hit it on a back porch in 1962. Distressing well is mostly about thinking like a time machine.
Distressing is sanding or scraping painted furniture to reveal the wood or base color underneath, mimicking natural wear. Done right, it makes a piece look 50 years old. Done wrong, it looks like you attacked it with a cheese grater.
There's a difference between distressed and shabby chic, too — distressed is subtle and strategic. Shabby chic is heavy and romantic. We're going for distressed today because it's more versatile and modern.
Here's the mental model. Close your eyes and picture your piece in a real home for 50 years. Where do hands touch it? Where do kids kick it? Where does a vacuum cleaner ding it? Where does sun hit it and fade the paint?
Nowhere in that list is "the middle of a flat panel." If you catch yourself sanding a flat center, put the sandpaper down.
Wait until your chalk paint or milk paint is fully cured — 24 hours minimum, 48 is better. Rushing this = gummy sanding and torn finish. Wait until your chalk paint or milk paint is fully cured — 24 hours minimum, 48 is better, especially if you are using chalk paint or milk paint for the first time.
Start with 220-grit and a light touch. You can always take more off. You can't put it back. Use the corner of your sanding block on edges — a flat block can flatten the whole edge. Short, directional strokes that follow the grain of the wood underneath.
Pro tip: use your hand as a sanding tool on curves. Wrap the sandpaper around your fingers and work it into molding and rounded edges. A rigid block will skip and leave flat spots.
A good rule: distress until you think you're almost done, then stop. Step back, look at it from 10 feet away. If it reads as "worn" from across the room, you're done. If you have to squint to see the wear, add a bit more.
Another tell: hardware zones. A dresser that's been used for 50 years will have finger-grazed wear around the pulls. If you're replacing dresser hardware anyway, do the distressing before you install new pulls so you can work right up to the holes.
A two-tone technique adds serious character. Paint the base coat one color (usually a darker one — navy, black, rust, deep green), let it dry and wax it thinly. Then paint your top coat in a lighter color — cream, white, pale sage. When you sand, you'll reveal the darker color underneath instead of raw wood. The wax acts as a release so the top coat sands off more easily in the waxed zones.
This is the technique that makes people ask where you bought the piece.
Seal with clear wax, applied with a lint-free rag, buffed after it hazes. On distressed spots, wax deepens the color and "settles" the wear so it doesn't look chalky or raw. A light dark wax over the clear adds instant age — but use it sparingly, mostly in recesses and corners, then wipe back with mineral spirits on a rag.
For high-use pieces like a dining table or a coffee table you actually use, matte polycrylic works better than wax. I have a full rundown of sealing options in my chalk paint guide for beginners.
Three drawer fronts on a maple dresser. I went too hard with 80-grit sandpaper, blew through the paint into the wood, and had to repaint from scratch. Start gentle. You're not punishing the furniture. You're just giving it a biography.
Distressing is one of those skills that gets dramatically better by project three. Your first piece will be a little awkward. By your fourth, you'll be eyeballing thrift store pieces thinking about where the wear should go before you even buy them.
If you tackled this, send me a photo. Seriously.
Tag me @diy.queen or email [email protected]