How to Refinish a Wood Dining Table Without Sanding
Refinish a wood dining table with no sanding — the chemical stripper, stain, and poly combo I used on my 1970s oak table in a single weekend.

Refinish a wood dining table with no sanding — the chemical stripper, stain, and poly combo I used on my 1970s oak table in a single weekend.
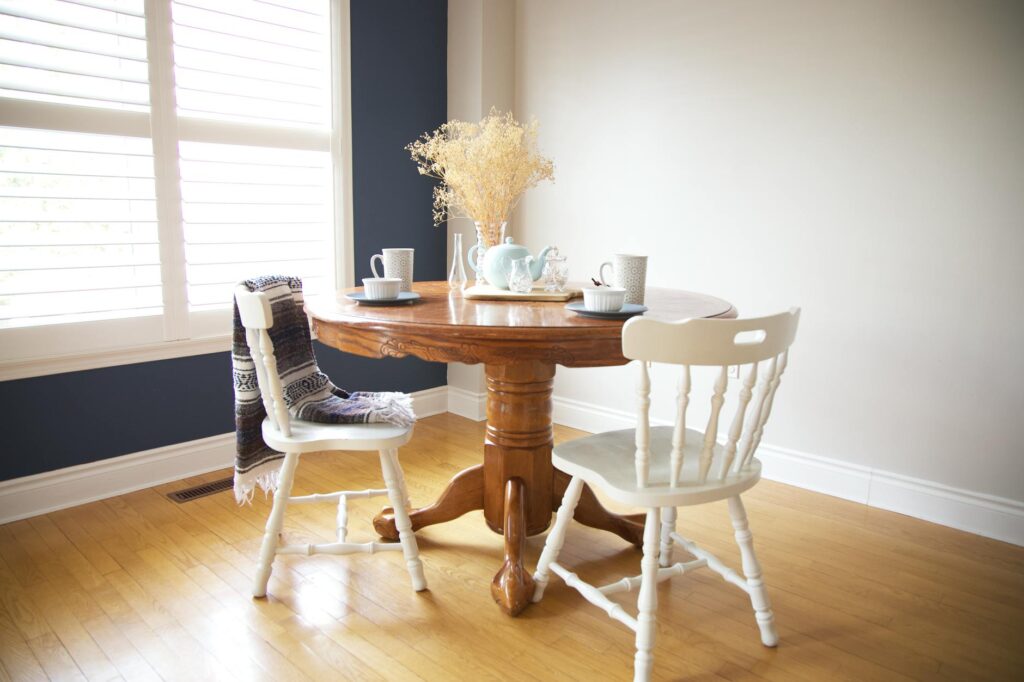
My dining table is a big, chunky oak thing my aunt gave me when she downsized. Beautiful bones, but the original 1970s finish was a dark orange polyurethane that had gone gummy in spots from decades of hot plates and wine. Sanding it was a non-starter — I live in a small bungalow, and I was not about to fill every room with oak dust for a week. So I refinished it without sanding. Here's how.
Let's set expectations. You can refinish a table without sanding if:
If your table has deep burn marks or the veneer is lifting, you'll need to sand or repair first. This method is for tables that are ugly, not broken.
This is the gnarly part. Citristrip is the friendliest stripper I've found — it smells like citrus, doesn't burn your eyes, and works slowly enough that you can actually work with it.
Brush it on thick with a cheap natural-bristle brush — like cake-frosting thick. Cover the whole table surface. Then walk away for 30 minutes to several hours. I put plastic wrap over mine to keep it from drying out and let it sit for 3 hours.
When you come back, the old finish should be gooey. Scrape it off with a plastic scraper. Work with the grain. Wipe the gunk into a trash bag as you go.
Pro tip: work outside or in a well-ventilated garage. Even "friendly" stripper is still stripper. Wear gloves and old clothes. Biscuit thinks this stuff smells interesting and I've had to repeatedly tell him to scram.
After scraping, there'll still be stripper residue in the grain. Wipe the whole surface down with mineral spirits on a rag. Then hit it with steel wool — #000 grade, going with the grain — to pull out the last of the old finish from the pores. The surface should feel smooth and look evenly lighter when you're done.
This is also the step where you see the "real" wood underneath. My table went from gloomy orange to a gorgeous pale oak. I almost left it unstained. (I didn't. I have a whole post of me regretting leaving things raw.)
Oak is open-grained and takes stain unevenly if you don't condition it first. Apply pre-stain conditioner with a rag, wait 15 minutes, wipe off excess. Now stain within 2 hours.
Brush stain on generously, let it sit 5 minutes, wipe off with a clean rag. One coat is usually enough. Two if you want deeper color. Let it dry 24 hours before topcoat.
This is the decision that determines whether you're doing this again in three years. Tables get abused. You need a real topcoat.
Oil-based polyurethane in satin is the gold standard for dining tables. It's more durable than water-based and it deepens the color slightly — which looks great on walnut-stained oak. Three thin coats. Sand lightly with 400-grit between coats. Let the final coat cure for at least 72 hours before putting anything on the table.
The downside of oil-based: it yellows over time. Fine on medium and dark stains. Don't use it over white or pale finishes — use water-based polyacrylic instead.
I know some folks use wax or oil-based finishes on dining tables. Don't. Wax can't handle wet glasses and hot plates. Use real polyurethane. Save wax for chalk painted decorative pieces — there's more on that in my chalk paint guide.
A professional refinish quote I got was $425. And I can't stress enough how much easier stripping is than sanding when you're working inside a house with two humans, a dog, and no spray booth.
Yes on tables, hutches, and anything with a good existing shape. No on anything with gouges, deep damage, or where the wood needs to be truly leveled. Stripping saves time and lungs. It just takes patience during the "wait" phases. Start on a Saturday morning and you'll be eating dinner at a brand-new-looking table by Sunday night.
If you tackled this, send me a photo. Seriously.
Tag me @diy.queen or email [email protected]