Easy DIY Wall Decor You Can Finish in a Weekend
Transform your living space this weekend with easy, budget-friendly DIY wall decor projects.

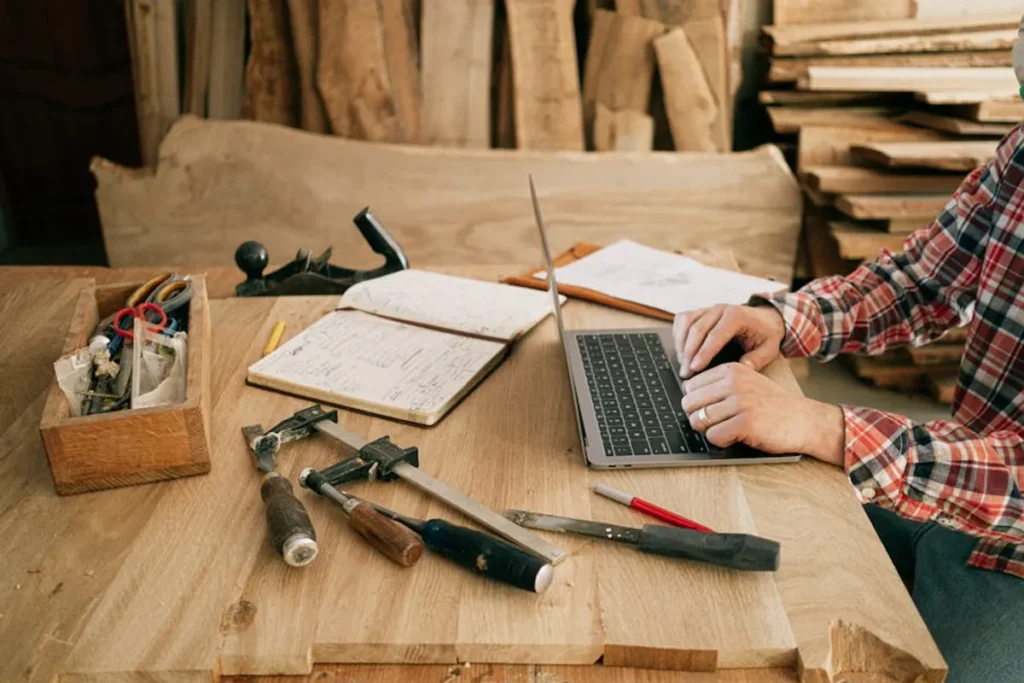
Transform your living space this weekend with easy, budget-friendly DIY wall decor projects.
Transforming a blank wall can refresh an entire room, yet many assume significant time or financial investment is required. The reality is that impactful, personalized wall decor projects are often achievable within a single weekend, utilizing readily available materials and fundamental DIY skills. This approach not only saves budget but also imbues your living space with unique character that store-bought items rarely deliver. Focus on projects that offer a high visual return for minimal effort, allowing you to complete a satisfying update without extending into the work week.
Adding texture to walls introduces depth and warmth, moving beyond flat prints or paintings. These projects are forgiving, often requiring more patience than precision, making them ideal for weekend completion.
Creating framed pressed botanical art involves gathering natural elements and arranging them. This project requires minimal tools and offers a personalized connection to nature. For best results, collect flat leaves, ferns, or small flowers. Press them between heavy books or in a dedicated flower press for a few days to a week prior, or purchase pre-pressed botanicals for immediate assembly. Arrange dried specimens on acid-free paper, securing them with clear adhesive dots or a fine mist of archival spray adhesive. Frame them in simple, shadow box frames for a clean presentation.
Macrame, the art of knotting cords into patterns, provides significant textural impact. For a weekend project, focus on basic knots like the square knot and half hitch. Start with a simple design using chunky cotton cord and a driftwood branch or wooden dowel. Many online tutorials offer step-by-step guides for beginner-friendly patterns that can be completed in a few hours. The tactile nature of macrame adds bohemian or naturalistic charm to any room.
Best for: Adding a soft, organic element to bedrooms, living rooms, or nurseries.
Gallery walls are versatile and allow for endless customization, combining various art forms, photographs, and personal mementos. The key to a cohesive gallery wall is planning the layout before hanging anything.
Digital art prints offer an affordable way to create a themed gallery wall. Many artists and platforms sell high-resolution digital files that can be downloaded and printed at home or through a local print shop. Choose a consistent color palette or subject matter for a unified look. Print on matte photo paper or cardstock for a professional finish. Frame prints in an assortment of sizes and styles, or use clipboards or magnetic poster hangers for a more casual aesthetic.
Pro Tip: Before drilling, cut out paper templates of your frames and tape them to the wall. This allows you to experiment with layouts and spacing without committing, ensuring a balanced and visually appealing arrangement.
Beyond traditional framed photos, incorporate three-dimensional objects into your gallery wall. Small shelves can hold miniature plants, ceramic figures, or collected souvenirs. Combine these with framed photos, postcards, or even small, lightweight mirrors. The variety of textures and depths creates a dynamic display that tells a personal story.
Consider: Incorporating a consistent element, such as all black frames or a single accent color, to tie diverse items together.
Shelving provides both storage and display opportunities, making it a practical addition to any wall. Weekend projects typically involve pre-cut wood or simple assembly.
Creating floating shelves involves attaching a pre-cut wooden board to the wall using hidden brackets. Purchase pine or MDF boards cut to your desired length. Sand the wood smooth, then stain or paint it to match your decor. Install floating shelf brackets according to manufacturer instructions, ensuring they are level and securely anchored into wall studs for stability. These shelves are ideal for displaying lightweight items like books, small plants, or decorative objects without visible supports.
Repurposed wooden crates or sturdy cardboard boxes can be transformed into unique modular shelving. Clean and sand wooden crates, then paint or stain them. For cardboard boxes, ensure they are robust enough to hold items and consider reinforcing corners with tape or glue before painting. Arrange and secure them to the wall using L-brackets or by stacking and securing them to each other, creating an asymmetrical or geometric pattern. This offers a customizable and rustic storage solution.
Warning: Always check the weight capacity of your chosen crates or boxes and the wall anchors. Overloading can lead to collapse and damage.
Existing mirrors and picture frames can be updated with simple DIY techniques to create custom, high-end looking pieces.
An ordinary mirror can be elevated by wrapping its frame with natural rope. Choose a mirror with a flat or slightly recessed frame. Apply hot glue or strong craft adhesive to small sections of the frame, then tightly wrap jute, sisal, or cotton rope around it, working in continuous, even rows. This technique adds texture and a coastal or rustic feel. Ensure the rope is taut and the glue cures properly before hanging.
Consider: Varying rope thickness or color for added visual interest.
Old or inexpensive picture frames can be given a new life with paint and stencils. Clean and lightly sand existing frames. Apply a primer, then paint them in a solid color. Once dry, use stencils and a contrasting paint color to add intricate patterns or geometric designs. Metallic paints can add a touch of glamour. This method allows for complete customization to match specific room aesthetics.
Committing to a DIY wall decor project over a single weekend requires realistic planning and a focus on achievable tasks. Start by assessing your current wall space and identifying a project that aligns with your skill level and available materials. Gather all necessary supplies before beginning to avoid interruptions. Remember that even small, thoughtful additions can significantly impact a room's atmosphere. The satisfaction of creating something unique for your home, completed within a manageable timeframe, often outweighs the perceived complexity of starting.
What are the easiest DIY wall decor projects for beginners?
Beginners should consider pressed botanical art, printable art gallery walls, or simple painted frame updates, as these require minimal tools and specialized skills.
How can I ensure my DIY wall decor is durable?
Use appropriate wall anchors for hanging, especially for heavier items like shelves. For painted or stained pieces, apply a clear protective topcoat to guard against wear and tear.
Can I use household items for wall decor projects?
Yes, many projects benefit from repurposed items. Old books can become floating shelves, fabric scraps can create textural art, and even decorative plates can be arranged as wall art.
What's the best way to plan a gallery wall layout?
Trace your frames onto craft paper, cut them out, and tape them to the wall using painter's tape. This allows you to adjust the arrangement and spacing before making any permanent holes.
If you tackled this, send me a photo. Seriously.
Tag me @diy.queen or email [email protected]